PLEASE NOTE THAT I AM NOT USING MULTIPLE ACCOUNT ON THIS SERVER. IF YOU USE MULTIPLE ACCOUNTS YOU NEED TO MAKE THOSE STEP IN THE /HOME/(USER ACCOUNT NAME)
- Go to /root/.ssh directory (If directory does not exist create it)
- cat known_hosts (If it does not exist create it)
- ssh-keygen -t rsa (Create the private and public keys)
- Enter passphase (Hit enter twice for none)
- ls -a (You will see now the Private Local Machine Key and the Public Server Key)
- cat id_rsa.pub
- Copy the id_rsa.pub
- In the .ssh directory run the following command
# touch authorized_keys - Copy the id_rsa.pub key in the authorized_keys file
- If you did not already did this step you are good to go!
navigate to /etc/ssh/sshd_config - Navigate to …
# To disable tunneled clear text passwords, change to no here!
#PasswordAuthentication yes
#PermitEmptyPasswords no
PasswordAuthentication yes - You have to set the PasswordAuthentication no
- For the rest of the installation just follow the video!
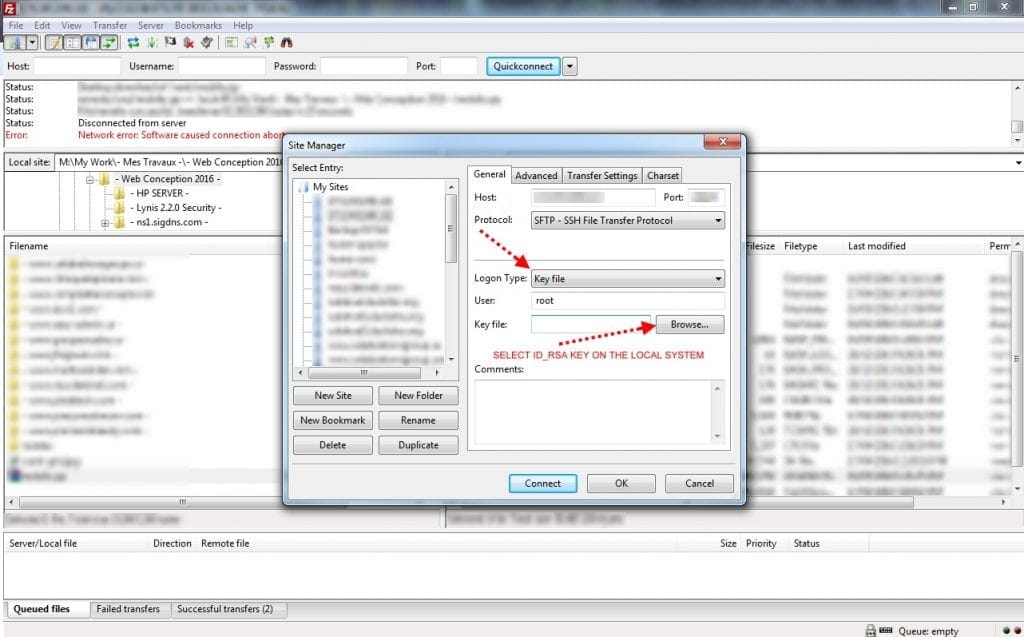
Here is what I do after, download the private key id_rsa to your computer. Open filezilla and add a new connection by using “LOGON TYPE: Key File”
Add the key file that you downloaded “id_rsa” then Filezilla will prompt you to created the final key file by converting it to .ppk “I named my keyfile filezilla.ppk”
When the new key is saved you will be able to login to the ftp server.
P.S Use the same filezilla.ppk key for PUTTY 😉
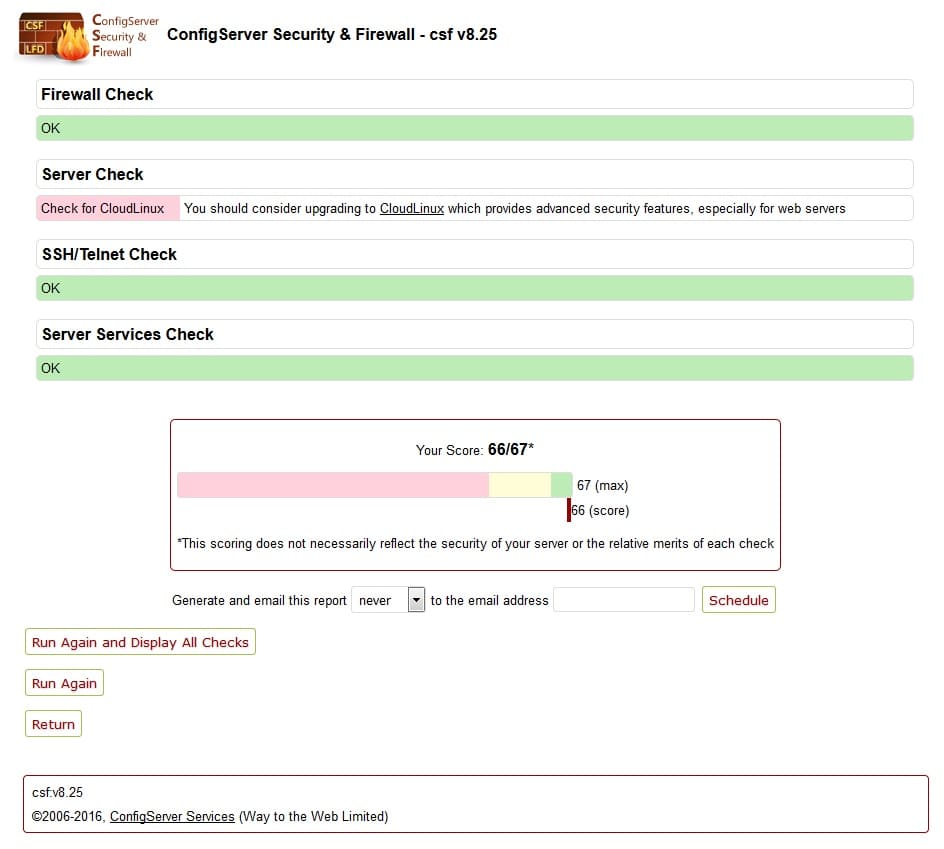
Also you will notice that if you use CSF you will have a stronger security!
Et voilà!


