SIGPROTEK & SIGTEAMWORK

SIGPROTEK and SIGTEAMWORK are small form factor network appliance built for use as a firewall router or other application and is compatible with a variety of open source projects.

The unit is small and it’s fanless, so there’s no noise. The 4 Intel NIC ports are proven to be the most reliable for use with high throughput packet switching applications and the units can route at gigabit wire speeds.

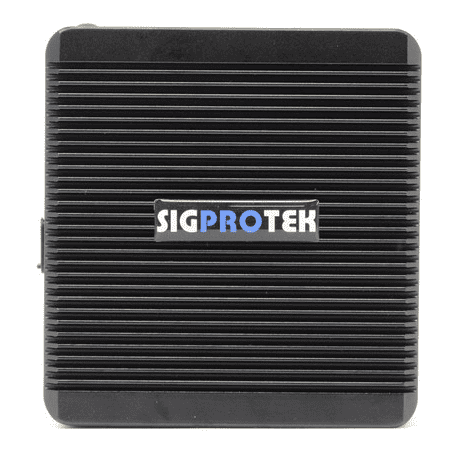
SIGPROTEK SECURITY FIREWALL SYSTEM

SPECIFICATIONS
– Quad Core J1900 CPU 2.0GHZ
– 4 LAN Gigabit Network
– 8 GB DDR3 Memory
– 2 USB 3.0 Ports
– 2 USB 2.0 Ports
– 1 VGA Connector
– mSATA 64GB SSD *3ME MLC
– Non-Industrial mSATA up to 1TB
* Industrial embedded for Aerospace industries
– Firewall: PFSENSE / CLEAROS / UnTANGLE
– Optional WIFI Hi-Speed Router

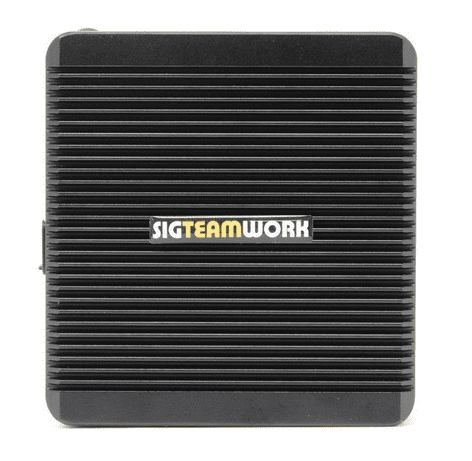
SIGTEAMWORK COMMUNICATION SYSTEM

SPECIFICATIONS
– Quad Core J1900 CPU 2.0GHZ
– 4 LAN Gigabit Network
– 8 GB DDR3 Memory
– 2 USB 3.0 Ports
– 2 USB 2.0 Ports
– 1 VGA Connector
– mSATA 64GB SSD *3ME MLC
– Non-Industrial mSATA up to 1TB
* Industrial embedded for Aerospace industries
– Up to 5TB 2.5″ SATA3 Storage
– CENTOS 7.x
– APACHE / Webmin / CSF
– FREE Integrated Dynamic IP Server

Developed by SIG INC. (Montreal) CANADA
https://www.sigsolution.net

IT DEV Dejan Janosevic (Belgrade) SERBIA
http://dejanjanosevic.com/

How to Install the Dynamic Update Client on Linux

This guide will walk you through the installation and setup of the Dynamic Update Client (DUC) on a computer running Linux. If you are using Ubuntu or Debian Linux please check our support site for guides on their specific setup.

Installing the Client

The below commands should be executed from a terminal window (command prompt) after logging in as the “root” user.  You can become the root user from the command line by entering “sudo su -” followed by the root password on your machine.

Note: If you do not have privileges on the machine you are on, you may add the “sudo” command in front of steps (5 and 6).

  1. cd /usr/local/src
  2. wget http://www.no-ip.com/client/linux/noip-duc-linux.tar.gz
  3. tar xzf noip-duc-linux.tar.gz
  4. cd no-ip-2.1.9
  5. make
  6. make install

If you get “make not found” or “missing gcc” then you do not have the gcc compiler tools on your machine. You will need to install these in order to proceed.

To Configure the Client

As root again (or with sudo) issue the below command:

  • /usr/local/bin/noip2 -C   (dash capital C, this will create the default config file)

You will then be prompted for your username and password for No-IP, as well as which hostnames you wish to update.  Be careful, one of the questions is “Do you wish to update ALL hosts”.  If answered incorrectly this could affect hostnames in your account that are pointing at other locations.

Now that the client is installed and configured, you just need to launch it.  Simply issue this final command to launch the client in the background:

  • /usr/local/bin/noip2