
Teamspeak is a VOIP server that can be used for teams or multiple people to communicate. It is relatively lightweight, and secure, as updates are released regularly.
How to install Teamspeak on a CentOS instance.
Prerequisites
Before we begin, you’ll need:
- CentOS 7 system (64 bit only).
- 512 MB of RAM or higher.
wget(utility used for downloading files).nanoorvim(any text editor is fine).
Installation
Prerequisites
Update the system packages. This may take some time.
yum update -y
Install tools needed for this tutorial.
yum install nano wget perl tar net-tools bzip2 -y
Installation
Add an unprivileged user to run Teamspeak. When prompted, enter your desired password.
useradd ts
passwd ts
Retrieve the Teamspeak server software.
Make sure you have the latest release here
cd ~
wget http://dl.4players.de/ts/releases/3.0.13.8/teamspeak3-server_linux_amd64-3.5.0.tar.bz2
Extract the Teamspeak tarball and copy all of the files to our unprivileged user’s home directory.
tar -xvf teamspeak3-server_linux_amd64-3.5.0.tar.bz2
cd teamspeak3-server_linux_amd64
cp * -R /home/ts
Remove temporary files.
cd ~
rm -rf teamspeak3-server_linux_amd64
rm -rf teamspeak3-server_linux_amd64-3.5.0.tar.bz2
Grant the appropriate permissions to our ts user.
chown -R ts:ts /home/ts
Create a Systemd service for Teamspeak.
nano /lib/systemd/system/teamspeak.service
Paste the following:
[Unit]
Description=Team Speak 3 Server
After=network.target
[Service]
WorkingDirectory=/home/teamspeak/
User=ts
Group=ts
Type=forking
ExecStart=/home/teamspeak/ts3server_startscript.sh start inifile=ts3server.ini
ExecStop=/home/teamspeak/ts3server_startscript.sh stop
PIDFile=/home/teamspeak/ts3server.pid
RestartSec=15
Restart=always
[Install]
WantedBy=multi-user.target
Save and exit.
Reload Systemd units.
systemctl --system daemon-reload
Make Teamspeak run on startup.
systemctl enable teamspeak.service
Starting, stopping and restarting
Controlling Teamspeak is simple. You can control Teamspeak with the following command:
systemctl (option) teamspeak.service
Replace (option) with start, stop, or restart.
For now it will not start! Check the notes at the bottom of this post,
P.S If you are running a standalone Centos you may change the location in the configuration to /var/www/html/(Teamspeak).
Configuring the firewall
CentOS 7 no longer uses iptables. As an alternative, CentOS 7 comes with firewalld by default.
Find the default zone. On Vultr instances running CentOS 7, the default zone is public.
firewall-cmd --get-default-zone
Open the default ports for Teamspeak. If each rule is added successfully, the output will read “success”.
firewall-cmd --zone=public --permanent --add-port=10011/tcp
firewall-cmd --zone=public --permanent --add-port=30033/tcp
firewall-cmd --zone=public --permanent --add-port=9987/udp
Reload firewalld.
firewall-cmd --reload
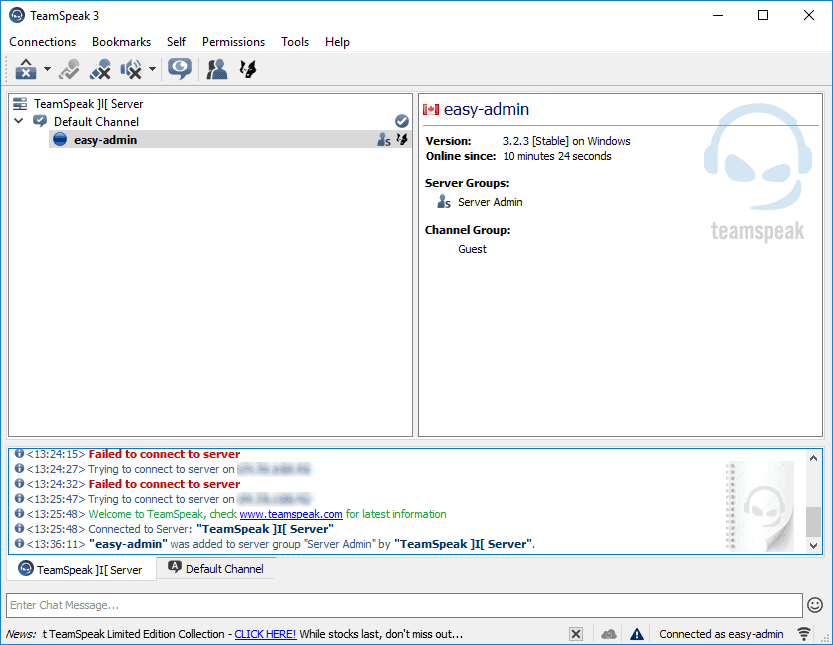
Congratulations! You’ve successfully created a Teamspeak server. You can connect to it with the Teamspeak Client. Sorry, for mobile they have a paid version for iPhone and Android! Hummm
This is what it should look when you are connected!
NOTES :
– Make sure you CHOWN all files to ts:ts
– Create this empty file where your server directory is located to accept the license terms .ts3server_license_accepted
– To retrieve the privilege key you need to check the Logs in the /Logs directory where you installed your Teamspeak server
Enjoy!