Assuming that you have a running centos 7 server using webmin + virtualmin with a qualified domain name.
Mattermost is an open-source online chat service. Mattermost is developed by Mattermost Inc, and it is written in Golang and Javascript. Mattermost is designed as an internal chat server for organizations and being marketed as an alternate to Slack.
Mattermost has a simple web interface that can be used for administration as well as instant messaging. Besides that, there are various chat clients are available as Desktop and Mobile Apps for Mattermost chat server.
In this article, we are installing Mattermost 5 on CentOS 7 server. We are also installing PostgreSQL 11, as a prerequisite of Mattermost server software.
Install PostgreSQL yum repository as follows:
[root@easy-admin ~]# rpm -ivh https://download.postgresql.org/pub/repos/yum/reporpms/EL-7-x86_64/pgdg-redhat-repo-latest.noarch.rpm
The same PostgreSQL package provides the yum repositories for various versions of PostgreSQL database.
Therefore, we are disabling the PostgreSQL yum repositories other than version 11 as follows.
[root@easy-admin ~]# yum-config-manager –disable pgdg10 pgdg94 pgdg95 pgdg96
Build yum cache for PostgreSQL repository.
[root@easy-admin ~]# yum makecache fast
Install PostgreSQL client and server packages using yum command.
[root@easy-admin ~]# yum install -y postgresql11 postgresql11-server
Initialize PostgreSQL database instance as follows.
[root@easy-admin ~]# /usr/pgsql-11/bin/postgresql-11-setup initdb
Edit pg_hba.conf file to allow md5 based user authentication.
[root@easy-admin ~]# nano /var/lib/pgsql/11/data/pg_hba.conf
Find following directive:
host all all 127.0.0.1/32 ident
and update it as:
host all all 127.0.0.1/32 md5
Enable and start PostgreSQL service.
[root@easy-admin ~]# systemctl enable postgresql-11.service
Start PostgreSQL
[root@easy-admin ~]# systemctl start postgresql-11.service
Connect as postgres user and set password for admin user.
[root@easy-admin ~]# su – postgres
-bash-4.2$ psql
psql (11.4)
Type “help” for help.
postgres=# ALTER USER postgres WITH PASSWORD ‘123’;
ALTER ROLE
Create the Mattermost database.
postgres=# CREATE DATABASE mattermost;
Create the Mattermost user.
postgres=# CREATE USER mmuser WITH PASSWORD ‘123’;
CREATE ROLE
Grant all privileges on mattermost database to mmuser.
postgres=# GRANT ALL PRIVILEGES ON DATABASE mattermost to mmuser;
GRANT
Exit from psql and logout from postgres user.
postgres=# \q
-bash-4.2$ exit
logout
PostgreSQL 11 has been installed on CentOS 7 server.
Installing Mattermost 5 on CentOS 7 server:
Download Mattermost software using wget command.
[root@easy-admin ~]# cd /tmp
[root@easy-admin ~]# wget https://releases.mattermost.com/5.26.1/mattermost-5.26.1-linux-amd64.tar.gz
Extract downloaded TAR file using following command.
[root@easy-admin ~]# tar -C /opt -xvf mattermost-5.26.1-linux-amd64.tar.gz
Create the storage directory for Mattermost files. This storage directory is used to store files and images posted by Mattermost users.
[root@easy-admin ~]# cd
[root@easy-admin ~]# mkdir /opt/mattermost/data
Create OS user and group for Mattermost software.
[root@easy-admin ~]# useradd –system –user-group mattermost
Adjust file permissions and ownership of /opt/mattermost directory.
[root@easy-admin ~]# chown -R mattermost:mattermost /opt/mattermost [root@easy-admin ~]# chmod -R g+w /opt/mattermost
Edit /opt/mattermost/config/config.json file to set PostgreSQL database configurations.
[root@easy-admin ~]# nano /opt/mattermost/config/config.json
Search for “SqlSettings” section and update following directives therein.
“DriverName”: “postgres”, “DataSource”: “postgres://mmuser:123@127.0.0.1:5432/mattermost?sslmode=disable&connect_timeout=10”,
Testing Mattermost configurations by executing mattermost command.
[root@easy-admin ~]# cd /opt/mattermost/
[root@easy-admin ~]# sudo -u mattermost ./bin/mattermost
* Go get yourself a cup of coffee and let it run a bit,
The server should run now!
Exit!
Create a systemd service unit for Mattermost.
[root@easy-admin ~]# cd
[root@easy-admin ~]# nano /usr/lib/systemd/system/mattermost
…and define the service unit directives as follows.
[Unit]
Description=Mattermost
After=syslog.target network.target postgresql-11.service
[Service]
Type=notify
WorkingDirectory=/opt/mattermost
User=mattermost
ExecStart=/opt/mattermost/bin/mattermost PIDFile=/var/spool/mattermost/pid/master.pid
TimeoutStartSec=3600 LimitNOFILE=49152
[Install]
WantedBy=multi-user.target
Save and close Nano.
Enable and start mattermost.service.
[root@easy-admin ~]# systemctl enable mattermost.service
[root@easy-admin ~]# systemctl start mattermost.service
Allow Mattermost service port in Linux firewall (I use CSF).
[root@easy-admin ~]# firewall-cmd –permanent –add-port=8065/tcp
[root@easy-admin ~]# firewall-cmd –reload
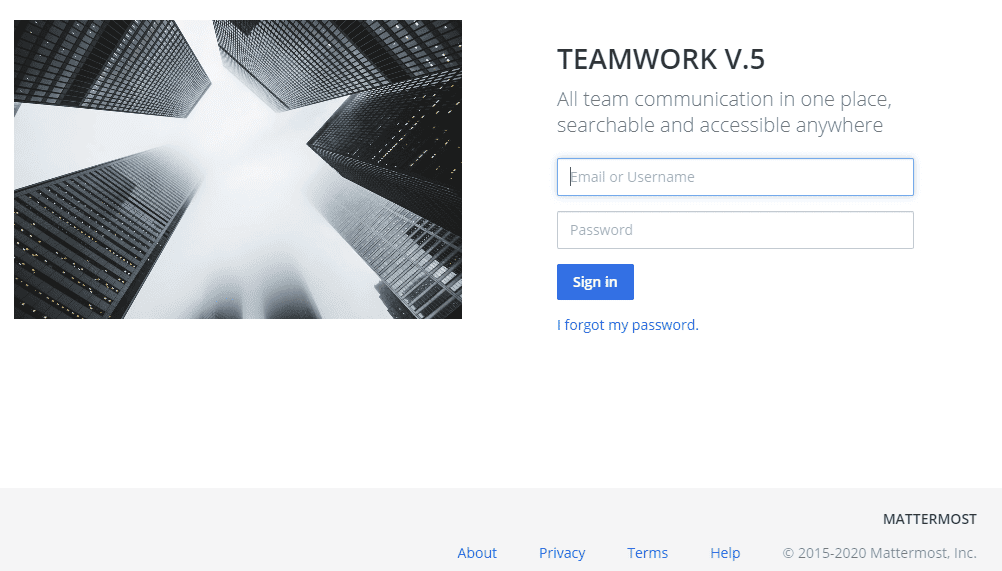
Open your browser and go to http://yourdomain:8065
Fill out the information requested!
Et Voilà
😉

This will work on the latest Mattermost 5.26.1 release.
Hope you enjoy!


