Microsoft has updated its documentation around the minimum Trusted Platform Module (TPM) security requirements for installing Windows 11, saying now that PCs will be required to have a TPM 2.0 chip in order to run the operating system.
In the updated documentation, Microsoft has removed the reference to a “hard floor” for Windows 11 that would’ve allowed PCs with TPM 1.2 to still install the new OS.
Microsoft’s original documentation had characterized TPM 2.0 as a recommendation rather than a requirement. According to the original documentation, as long as a PC had at least TPM 1.2 – which was released in 2011 – it would meet the minimum security requirements for Windows 11. Microsoft had said that devices with TPM 1.2 would “receive a notification that upgrade is not advised,” but wouldn’t be prohibited from installing Windows 11.
For Intel Core chips, support for Windows 11 starts at the eighth-generation line, meaning that PCs with seventh-gen Intel Core chips and older would not be compatible with Windows 11, based on Microsoft’s disclosure.
The first builds of Windows 11 will begin rolling out to Windows Insider testers early next week, and Windows 11 will be generally available this holiday as a free update for compatible Windows 10 PCs, Microsoft said. Windows 11 will only see one major feature update per year, in contrast to the twice-a-year feature updates for Windows 10, the company disclosed.
Check for compatibility
Use the PC Health Check app to see if your current PC meets the requirements to run Windows 11. If so, you can get a free upgrade when it rolls out.
Direct Download link on the official Microsoft website

You may also verified that your computer have the minimum TPM 2.0 installed by opening TPM.msc
You may need to activated it in your Bios option if it’s available.
Enjoy!
I will post a workaround method to be able to install windows 11 on older unsupported computer soon! Stay tuned 😉
To be able to install Windows 11 on unsupported computer you will need :
Install Windows directly into your existing OS, insert your USB key and just run setup
Workaround method 1
- Windows 10 ISO decompressed files
- You will need to go into the “sources” folder of windows 10 install
- Then you will need to delete the “install.esd” file and then copy the “sources” folder into your Windows 11 installation “sources” folder. “overwrite all files”
- Now you will be able to start the installation process of Windows 11 on your unsupported computer
- To bypass the account creation unplug your internet connection and select “sign-in options”. Select “Offline Account”, this will allow you to create a local account.
- Finish the installation setup
🙂
Workaround method 2
- Download the fix zip file here that contain appraiserres.dll
(Download here) - Unzip and copy & replace the appraiserres.dll files in the /sources folder of your Windows 11 installation
- Run the install and you should be good!
This is not for production and it’s only for you to see the new windows 11 on your unsupported computer.
Note that many device driver will not work yet!
Workaround method 3
Modify Registry
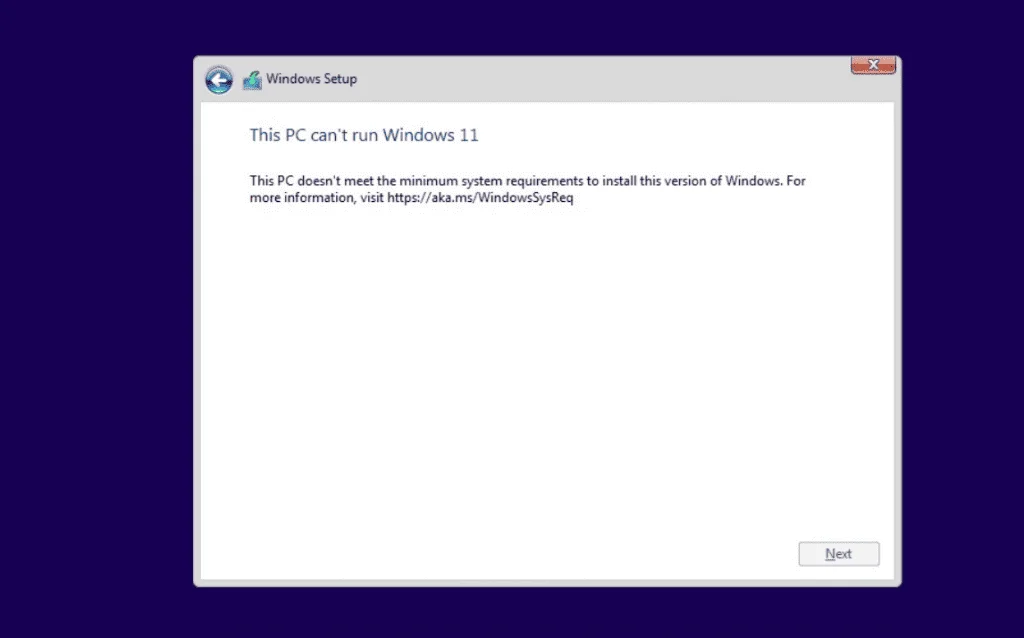
The first method involves simply editing Windows Registry during the installation process of the new operating system. On unsupported devices, if you try to install the new OS, a message will appear on your screen stating that the computer isn’t compatible.
At that screen, you need to press Shift+F10 to open Command Prompt window and modify the registry. In Command Prompt, you need to run regedit.exe and create a new key “LabConfig” under HKEY_LOCAL_MACHINE\SYSTEM\Setup. In the “LabConfig” key, create two new entries:
- BypassTPMCheck=dword:00000001
- BypassSecureBootCheck=dword:00000001
Save the changes and compatibility errors will disappear.
Otherwise, you can also create a .reg file with the following line of code:
Windows Registry Editor Version 5.00 [HKEY_LOCAL_MACHINE\SYSTEM\Setup\LabConfig] “BypassTPMCheck”=dword:00000001 “BypassSecureBootCheck”=dword:00000001
Save this (.reg) file in a USB drive and perform a clean installation of Windows 11 when it is officially released. During the installation process, press Shift + F10 and type notepad and hit enter.
In Notepad, open the file menu and locate and apply the reg file. This will bypass the TPM+SecureBoot requirements.
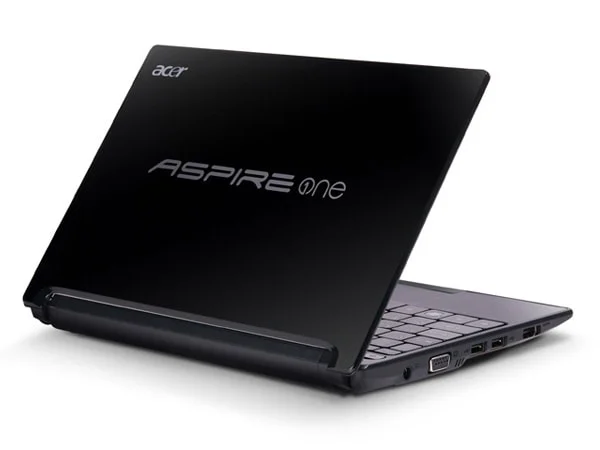
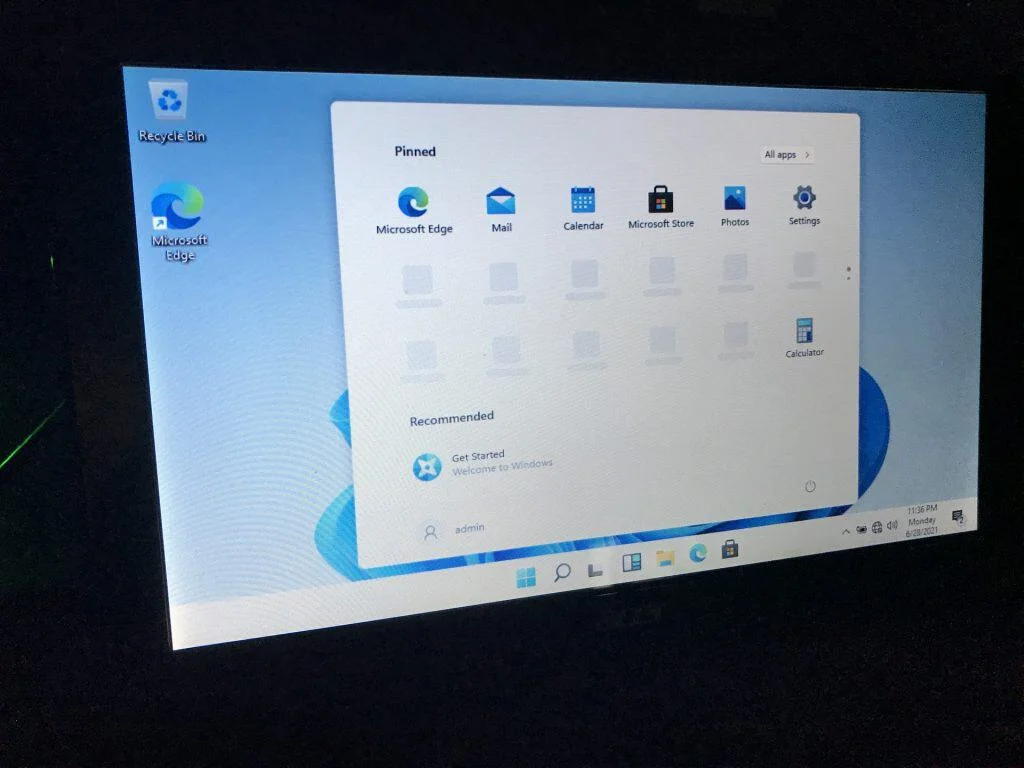
Here is a view of Windows 11 installed on Acer Aspire One with TPM 1.2